Openers · Toronto
Photo-Eye Sensor Alignment or Replacement
Since shelving went up along the garage wall, the door will not close and both sensor lights are dead.
In plain words
By the end of the visit you have a door that closes from every control and reverses the instant the beam is broken, a sensor pair mounted level at the right height with steady indicator lights, wiring that is secured and out of harm's way, and a written note of what was found and what was changed. The technician walks you through the two tests you can repeat monthly, points out which light is which, and leaves the opener's diagnostic chart where you can find it. It is a small job that puts a large piece of your door's protection back in service.
How the visit goesSince shelving went up along the garage wall, the door will not close and both sensor lights are dead. A screw or staple may have gone through the thin wire that runs from the opener to the sensors.
Photo-Eye Sensor Alignment or Replacement
How the visit goes
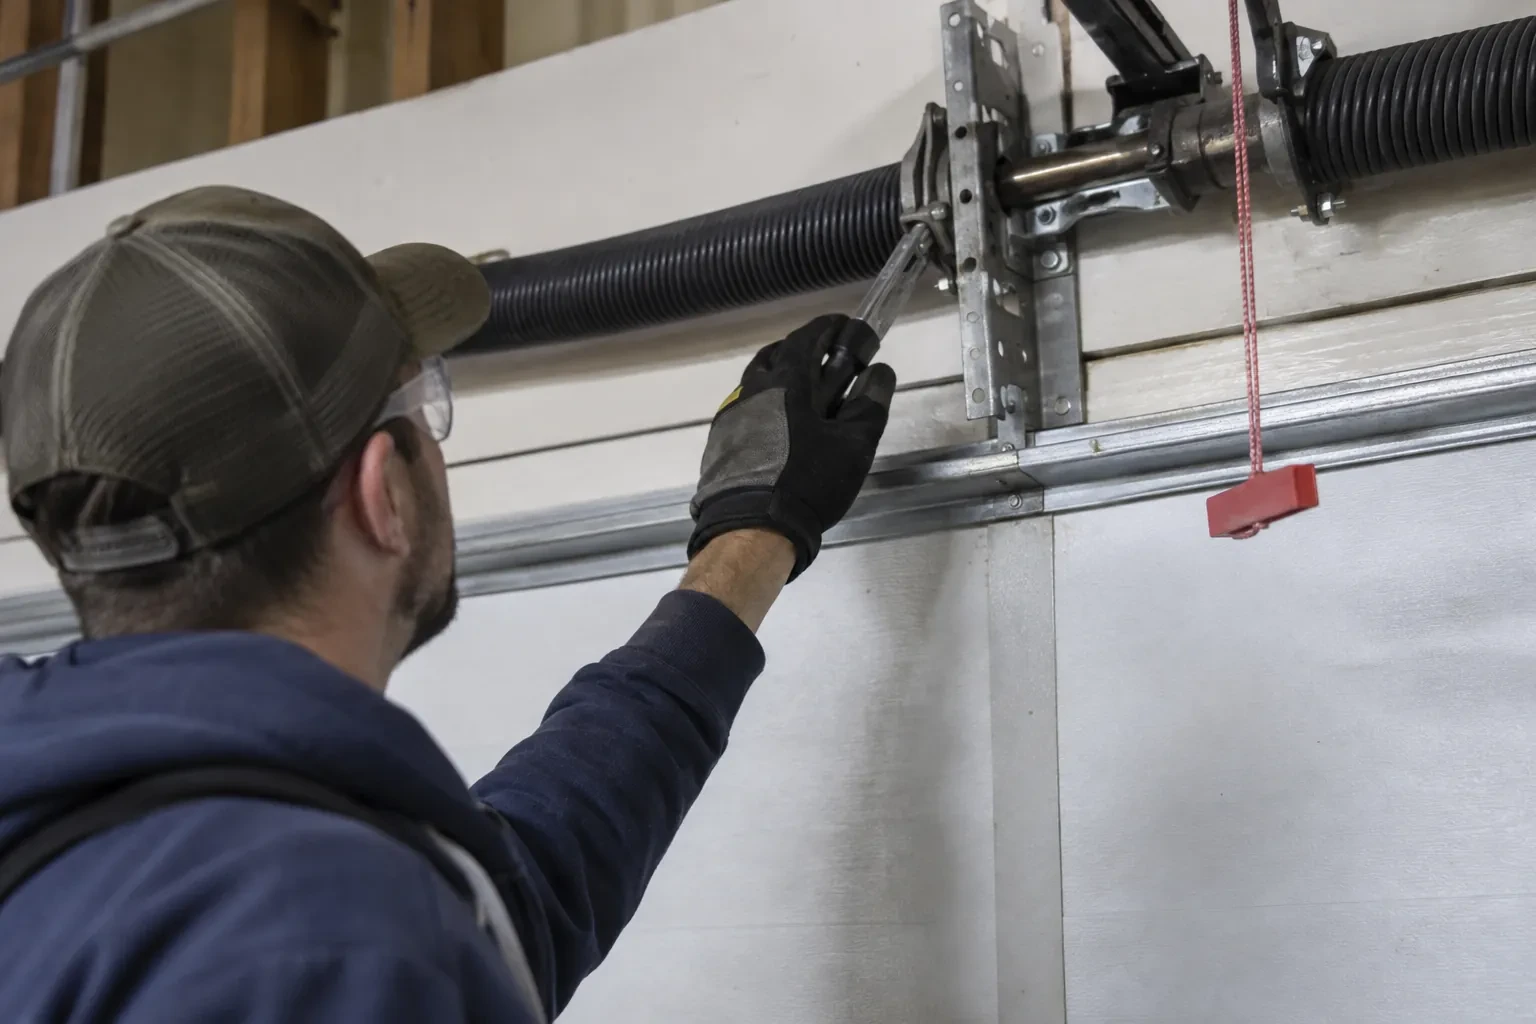
Counting the opener's flashes
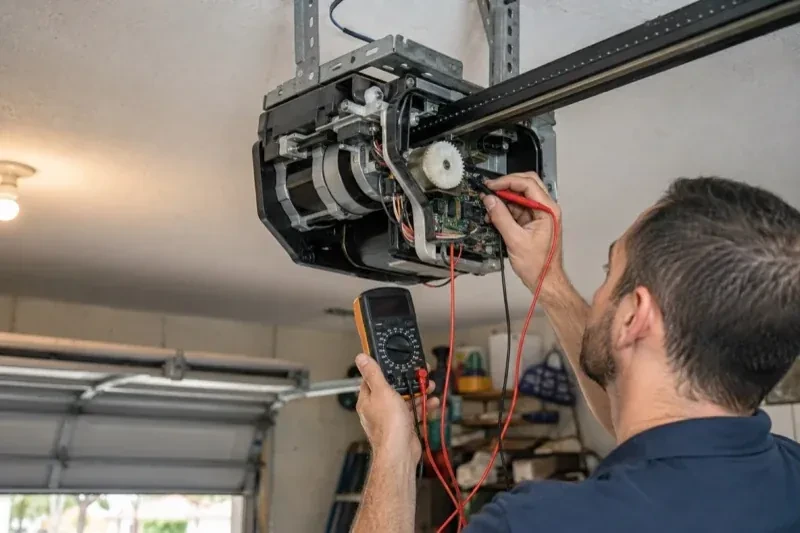
The head unit has its own way of reporting a sensor problem. Many openers flash the light bulb a fixed number of times when close is pressed and the beam is not satisfied, and newer units blink a code on their up and down arrows that separates a blocked or misaligned beam from a cut wire, a disconnected pair or reversed wiring. The technician reads the model off the label, counts the pattern and matches it to the maker's chart. This is what keeps the visit efficient: a code that says the circuit is open sends the work to the wiring, while a code that says obstructed or misaligned sends it to the brackets.
Bringing the pair back to the doorway
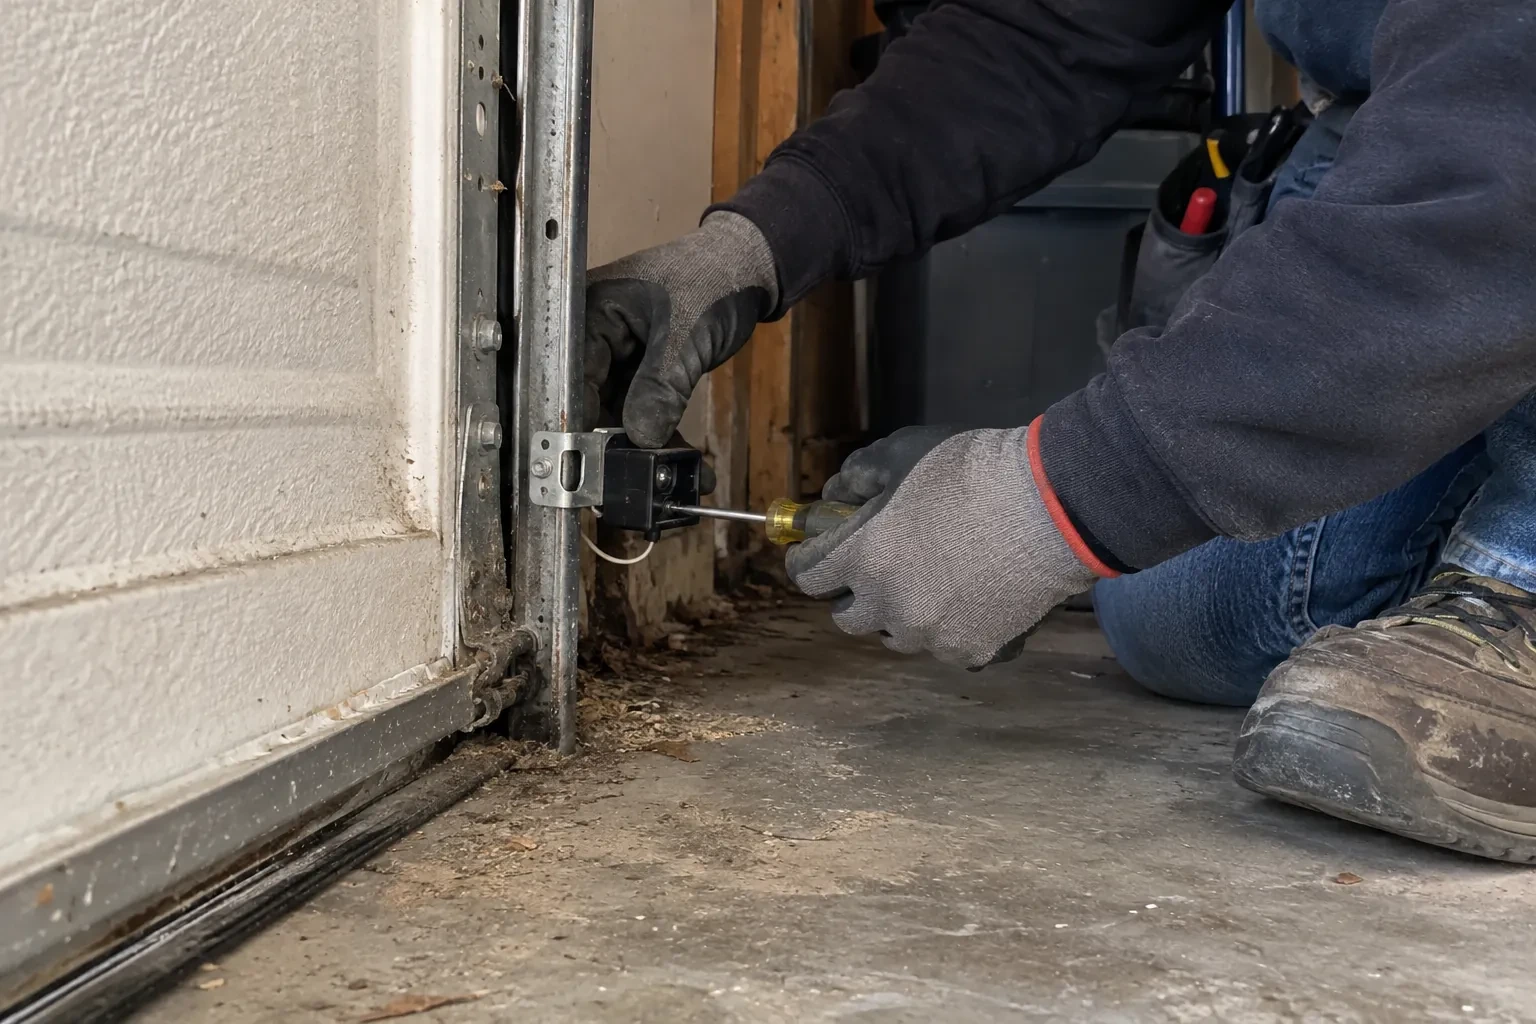
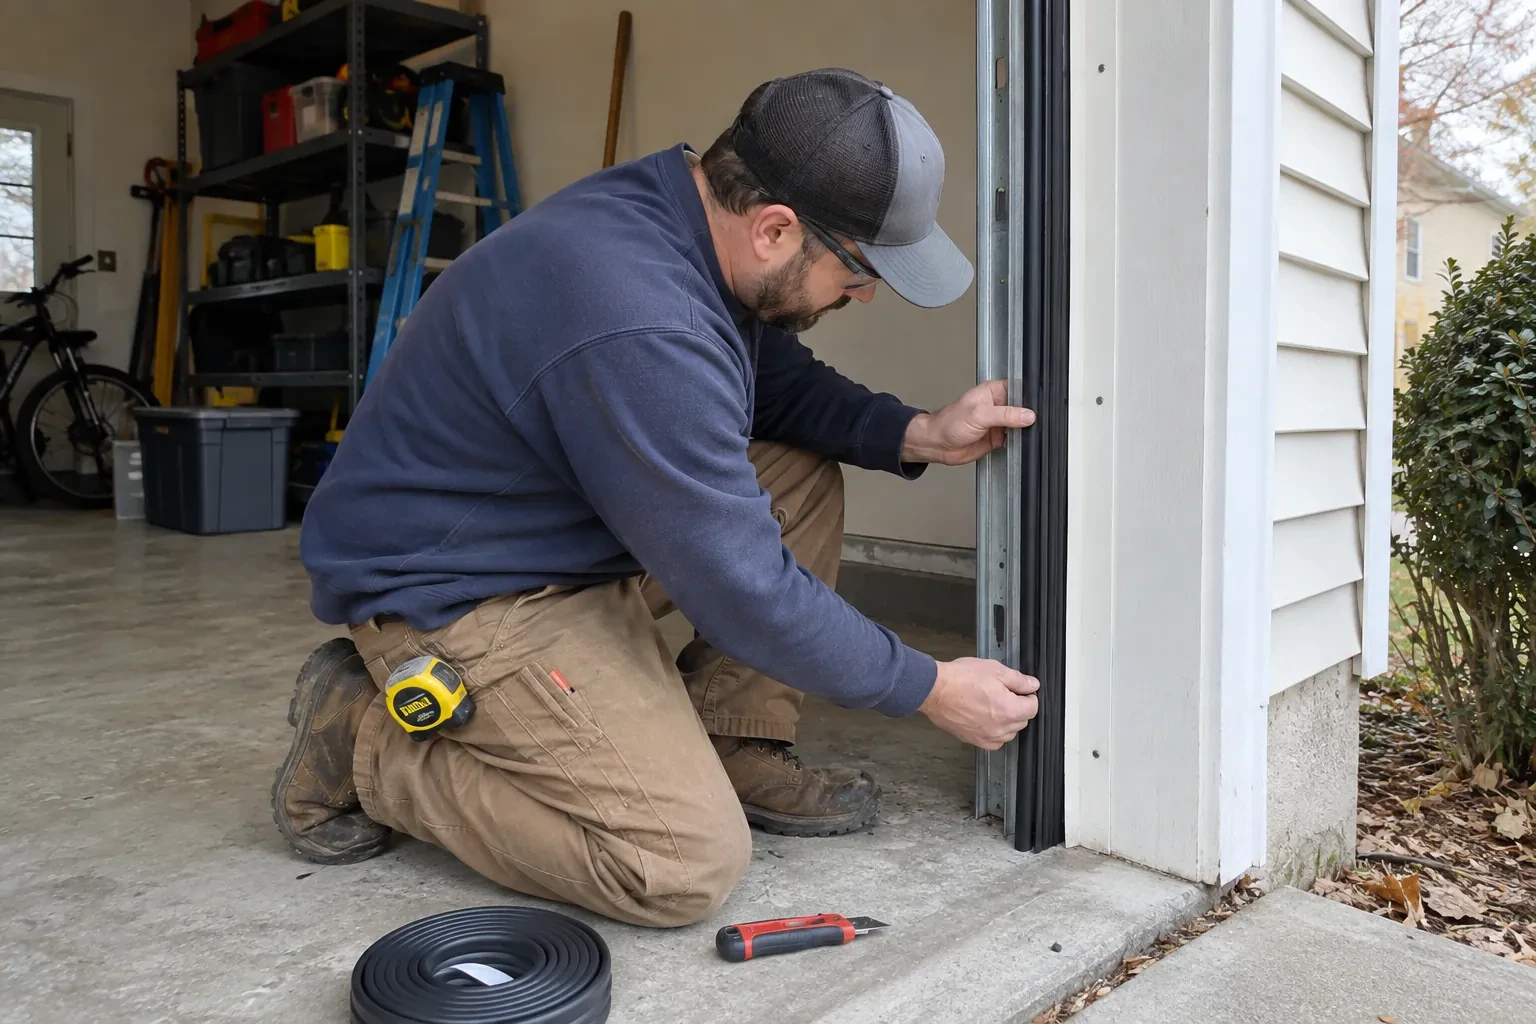
Sometimes the sensors exist but have been defeated: taped face to face next to the head unit so the circuit is always satisfied and the door closes on anything. The technician separates the pair, checks that both still work, and mounts them where they belong on each side of the opening, low to the floor and facing each other. New wire is run down each side, brackets are fitted, and the alignment is set. The opener is then made to prove itself with the beam test, and the household is shown why the pair matters and how to keep it working, so the shortcut is never tempting again.
The monthly beam test
The habit worth keeping takes about a minute. Once a month, with the door open, press close on the wall control and, as it moves down, pass a broom handle through the beam near the floor. The door should stop and climb back to fully open. Then lay a 2x4 flat under the middle of the door and close onto it; the door should touch it and reverse. If either test fails, stop using the opener; close the door first if it is not already closed, then use the manual release, and get help moving it by hand if it feels heavy or will not hold. A door that passes both tests is doing its job.
Photo-Eye Sensor Alignment or Replacement
In the van
Wall or floor angle brackets
Insulated wire staples
Wing nuts and carriage bolts
Protective wire channel
Receiving-eye sun shade
Photo-Eye Sensor Alignment or Replacement
What affects the quote
Access to the doorway and the head unit
A clear strip along the floor and a reachable head unit make for a direct job. Shelving, vehicles or stored goods that must be moved to reach the sensors, wire or terminals add time.
Bracket condition
A bracket that can be straightened costs little time. One that is cracked, rusted through or missing is replaced, and a change from track clips to wall or floor brackets adds anchors and mounting work.
Corrosion reaching the head unit
Where salt and water have travelled up the wire to the terminals, or the sensor terminals on the board are damaged, the repair extends beyond the pair and that is set out separately.
What to have ready
- What make and model is on the opener's label, and roughly how old is it?
- Are there sensors at the floor on both sides, or are they missing or mounted up beside the motor?
- Which direction does the garage door face?
Photo-Eye Sensor Alignment or Replacement: questions
QuestionsIs it all right to keep using the door until the visit?
Use the door in a way that keeps you in control. If the opener closes only while the wall button is held, do that only while you can see the whole doorway and nobody is near it. Otherwise close the door first if you can, then move it by hand with the manual release, and get help if it feels heavy or binds. Keep children and pets clear during any test. A door that reverses is being cautious on your behalf.
How should I clean the lenses?
Gently, with a soft dry or lightly damp cloth, the way you would clean eyeglasses. Never scrape a lens or use a solvent, since a scratched or clouded lens scatters the beam. Wipe both sensors, then check that the receiving light comes on steadily. If a lens frosts on cold mornings, give it a few minutes to clear or dry it with a cloth. A quarterly wipe keeps dust, cobwebs and salt film from building up.
What can I check myself before calling?
Three things, all safe. Look along the floor between the sensors for anything in the path, including snow, leaves or a cobweb across a lens. Look at the two sensor lights and note whether one is dark or flickering, or both are dark. Press close and count the flashes of the opener light. If moving an object or wiping a lens brings the receiving light back on steadily, the door may close normally again; if not, those observations make the visit shorter.