Openers · Toronto
Garage Door Opener Diagnosis and Repair
The door stops partway up for no reason, or opens fine and then refuses the next time.
In plain words
Most openers built in the last fifteen years report their own trouble. When something is wrong the head unit blinks its lights in a count, an up arrow and a down arrow flashing in a pattern, or a status light repeating a number. Each pattern has a meaning on the maker's chart for that model: a sensor circuit open, no motor movement detected, too much force needed to close. The technician reads the pattern, checks it against the model, and confirms it with a hands-on test rather than trusting the light alone. Older units without codes are diagnosed by ear, by meter and by hand.
How the visit goesThe wall button works every time. The remote only works if you are practically under the door; from the end of the driveway it does nothing at all. It started around the time you changed the bulbs in the opener to LEDs.
Garage Door Opener Diagnosis and Repair
How the visit goes
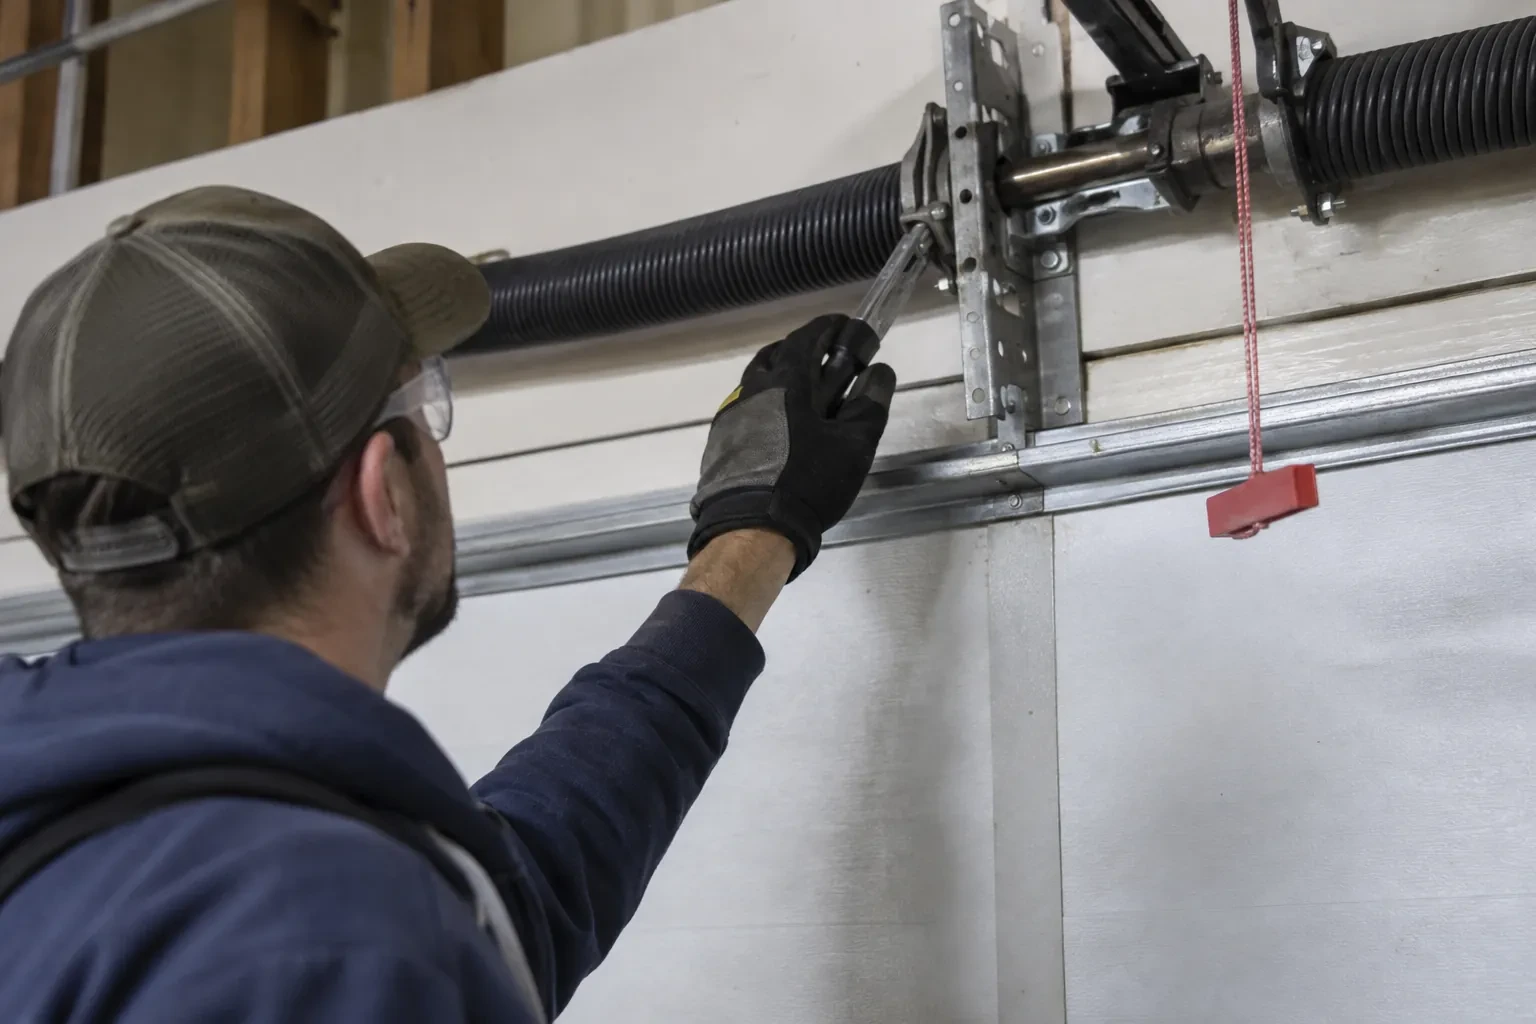
What the blinking lights are saying
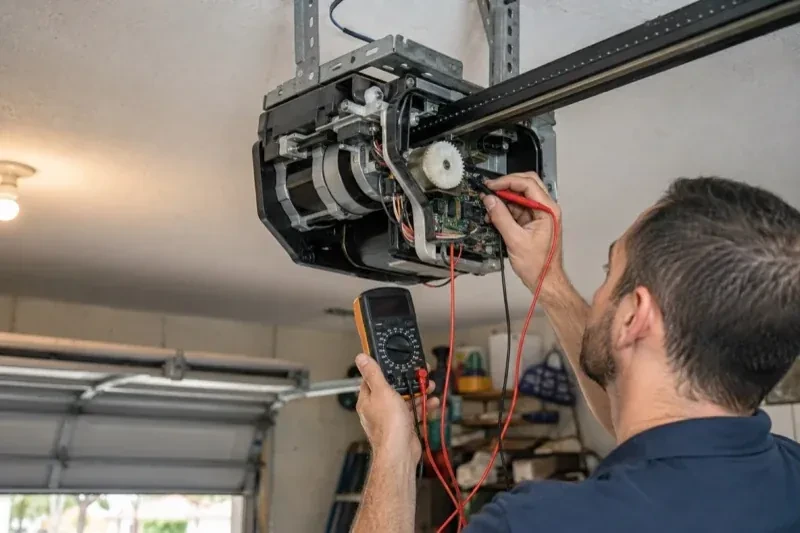
Many openers describe their own fault. The head unit flashes its light bulbs, or an up arrow and a down arrow, in a numbered pattern, and some display a code on the wall control. The technician counts the pattern, identifies the exact model from its label, and matches the two on the manufacturer's chart: one family of codes means the sensor circuit is open or obstructed, another means the motor was told to move and nothing turned, another means the door needed more force than the limit allows. The code narrows the search; a hands-on test then confirms it, because a wiring fault can imitate a sensor fault.
Re-engaging or rebuilding the drive
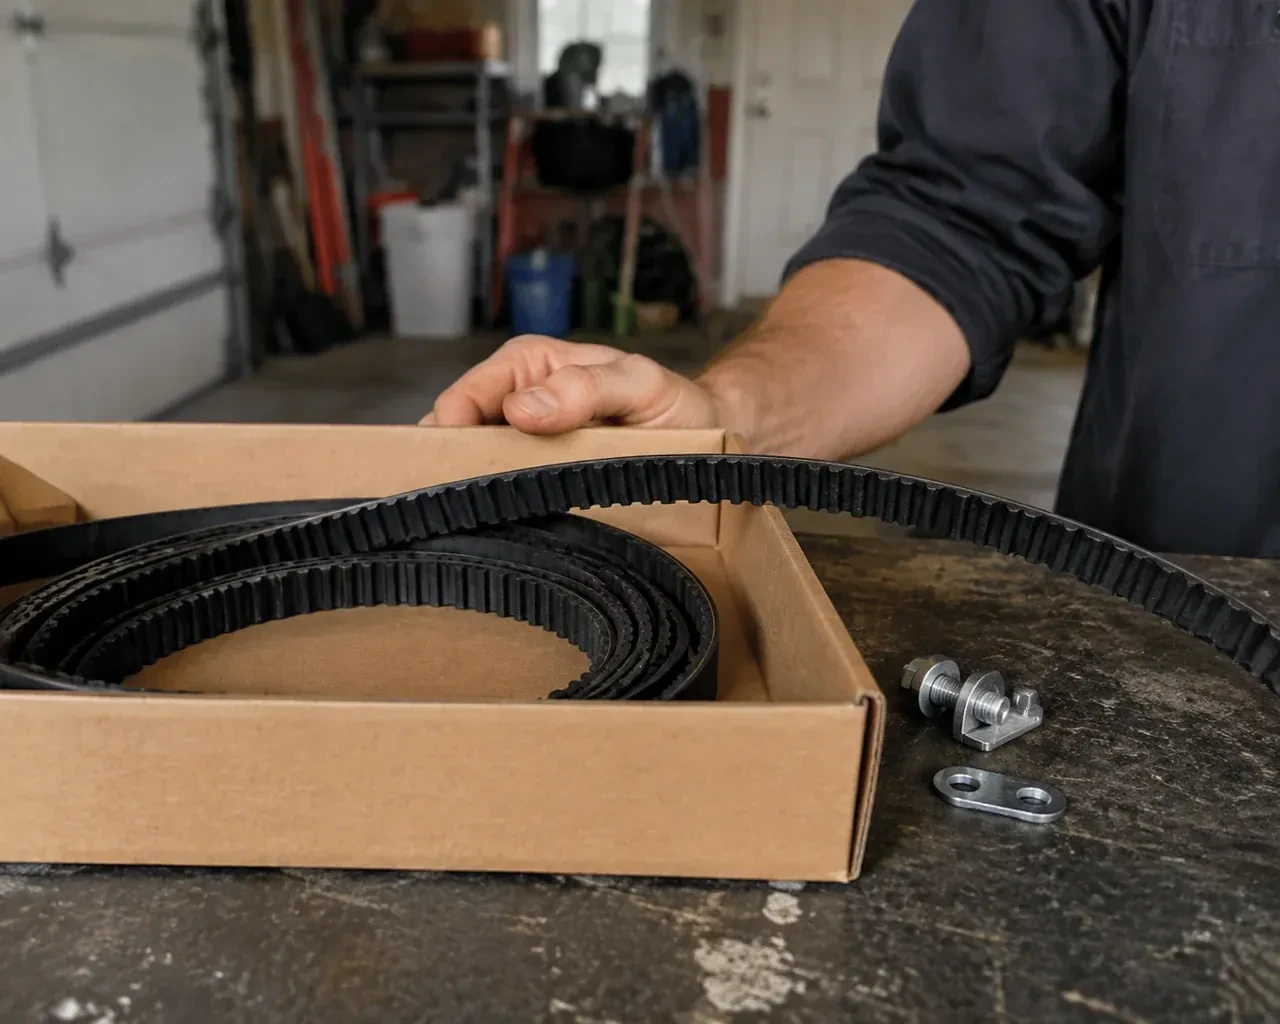
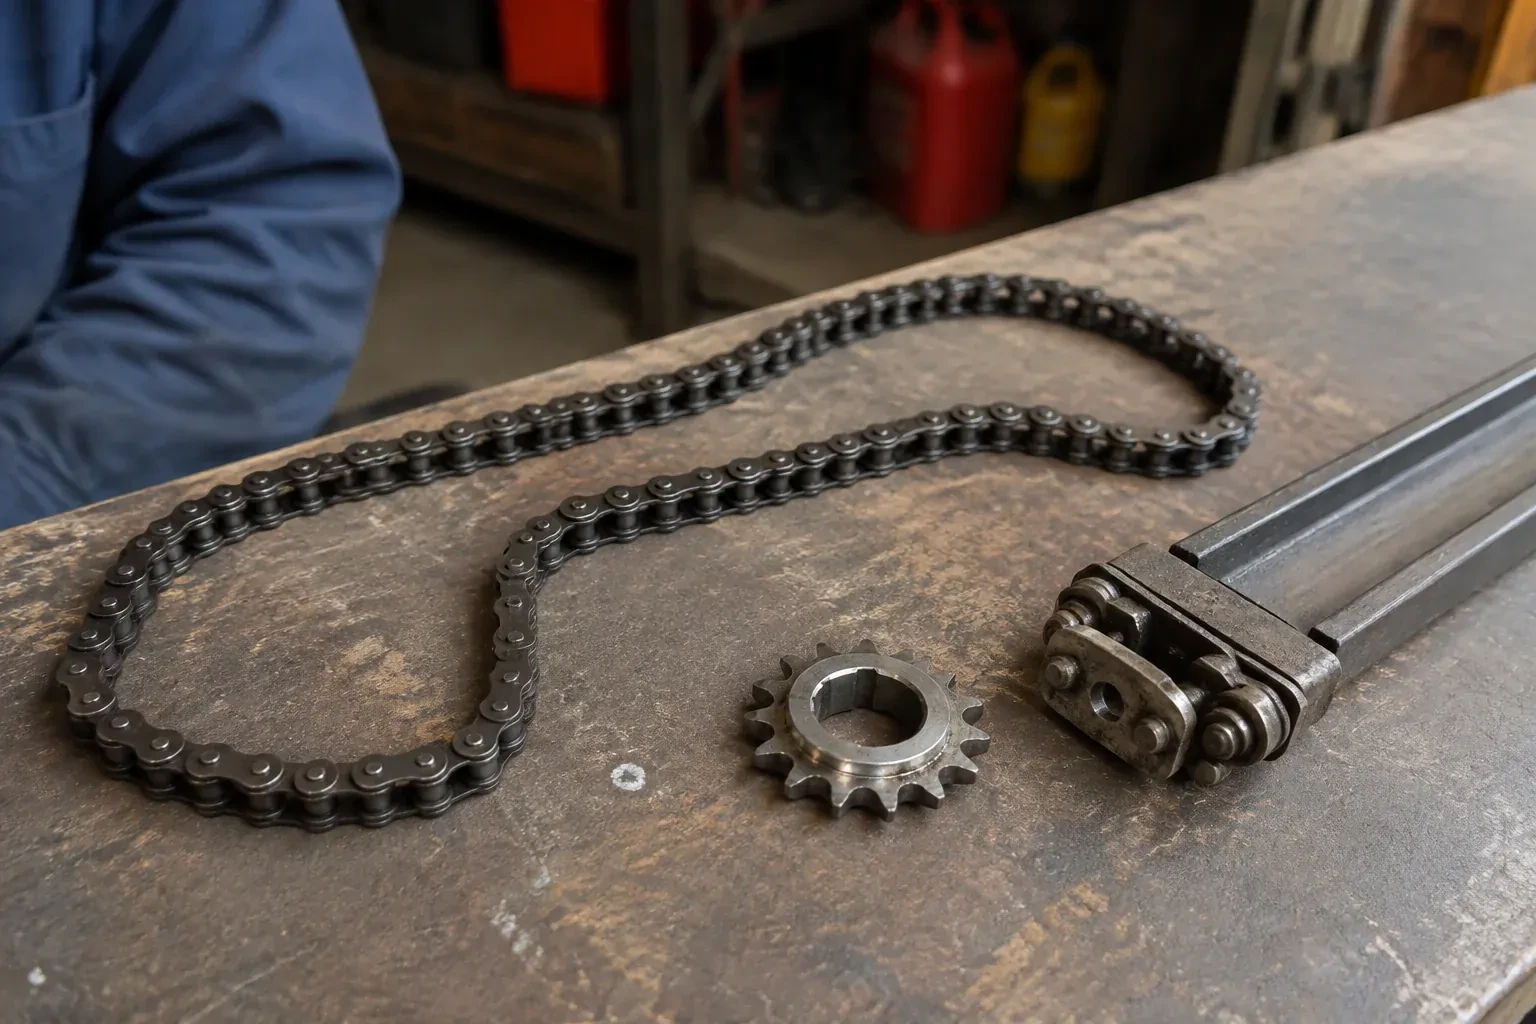
A trolley that was disconnected by the release cord is re-engaged: the door is placed by hand, the carriage is run to meet it, and the two latch together with an audible click. A stripped drive gear, the classic failure on chain-drive heads, is replaced as a kit: cover off, motor lifted, worn gear and sprocket out, new gear, sprocket, bushings and grease in, chain re-tensioned so it sags only slightly below the rail. A snapped or badly stretched chain or a frayed belt is replaced and tensioned. Each repair ends with a full open-and-close cycle while the technician watches the trolley for smooth, even travel.
A clear path if the unit is near its end
When the diagnosis finds an opener that is safe today but not for long, you leave with a plan rather than a surprise. You know which part is wearing, what the warning signs will be, and how the decision to replace is likely to present itself. If the unit is one the industry recommends replacing, such as a head unit with no photo eyes, that is set out plainly along with what a modern belt or direct-drive unit changes: quieter running, battery backup, soft start and stop, and sensors that meet the current standard. The door is left working and safe while you decide.
Garage Door Opener Diagnosis and Repair
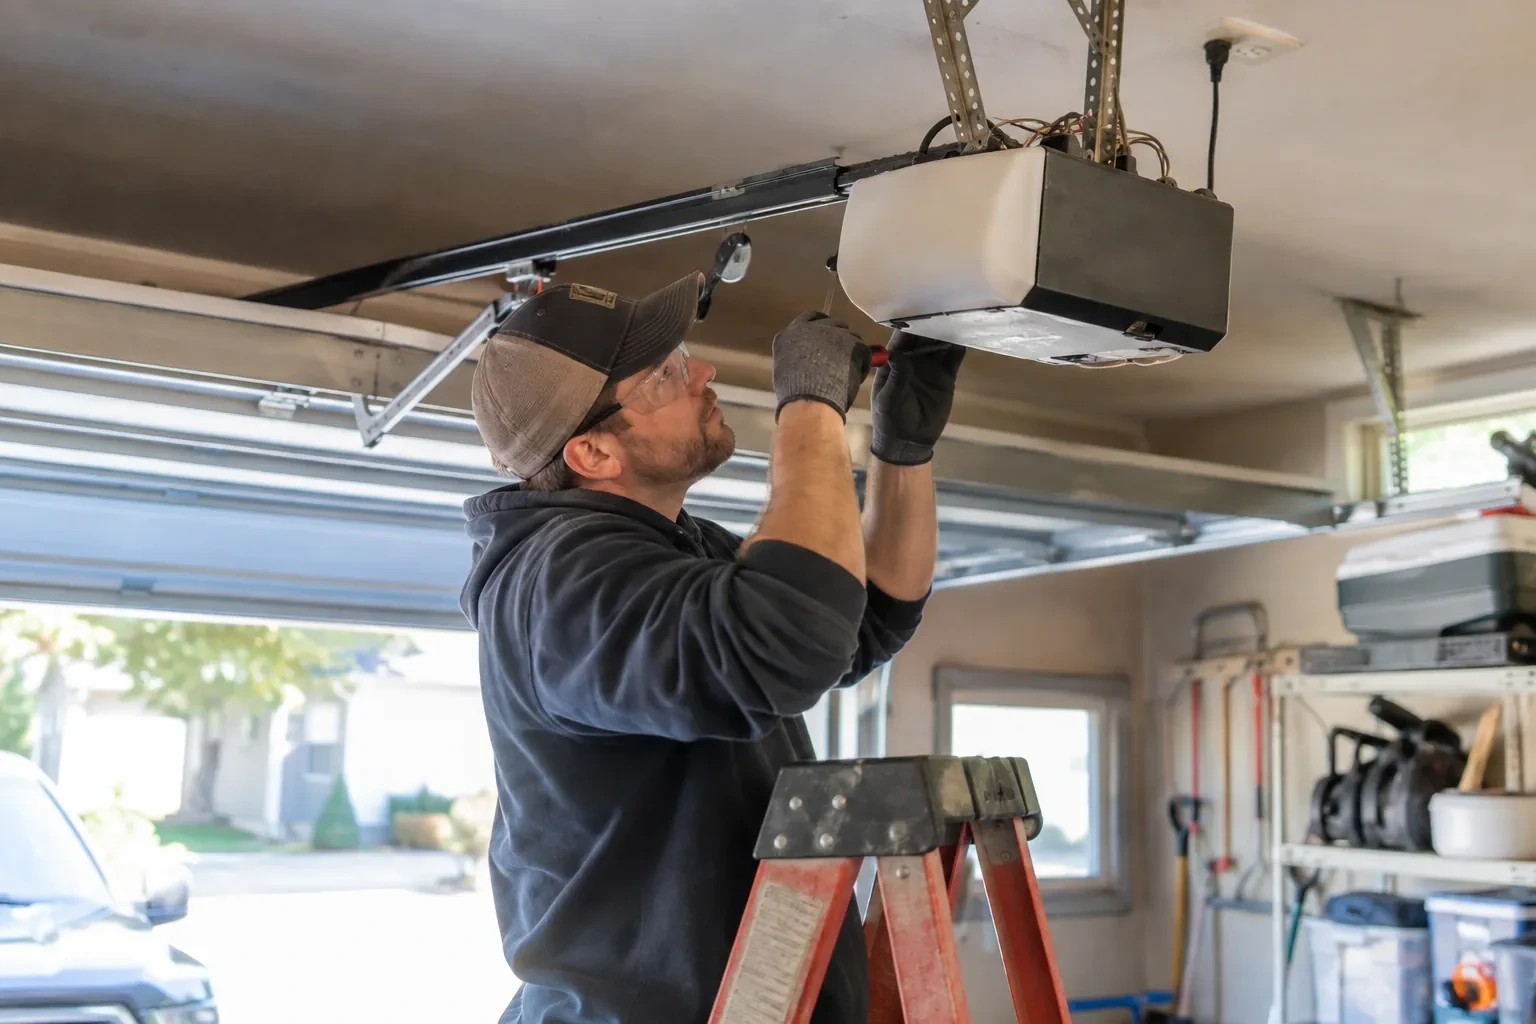
In the van
Start capacitor
Photo-eye sensor pair
Chain or belt
Transformer and board fuse
Trolley and carriage
Garage Door Opener Diagnosis and Repair
What affects the quote
Repair or replacement
When diagnosis points to replacement, the quote changes shape entirely: a new head unit, rail and sensors with installation, plus removal of the old opener, rather than a single part and labour.
Connected features
A unit with a network module, door-position sensor or hub may need its pairing restored or a module replaced, which is quoted as its own step alongside the mechanical repair.
Age and model of the unit
Parts availability is checked by exact model and part number rather than assumed from age, since some units even from the last two decades already have a board or component discontinued with nothing to replace it. Sourcing a part, or replacement instead, shapes the quote.
What to have ready
- What does the opener do when you press a button: hum, click, run or nothing?
- Is the door stuck open or stuck closed right now?
- Are the two small lights on the sensors near the floor steady, flickering or off?
Garage Door Opener Diagnosis and Repair: questions
QuestionsWhy will the door close only while I hold the wall button?
That is a built-in behaviour, not a new fault. When the sensor circuit reports a problem, most openers refuse to close from a remote but allow a constant-pressure close from the wall control, because someone standing there can see the doorway. It is a strong signal that the photo eyes or their wiring need attention, and once the sensor issue is corrected the door closes normally from every control again.
How old is too old to repair?
Age alone is not the test; parts and safety are. The technician checks the exact model and part numbers, because even a unit from the last two decades can have a board, sensor or trolley that is no longer made. Where the parts are available, a repair is usually straightforward. Where a key part is discontinued with nothing to replace it, or the unit predates photo eyes, replacement is the sounder choice even for a small fault. The technician tells you which side of that line your unit sits on.
Why does the door stop just above the floor and reverse?
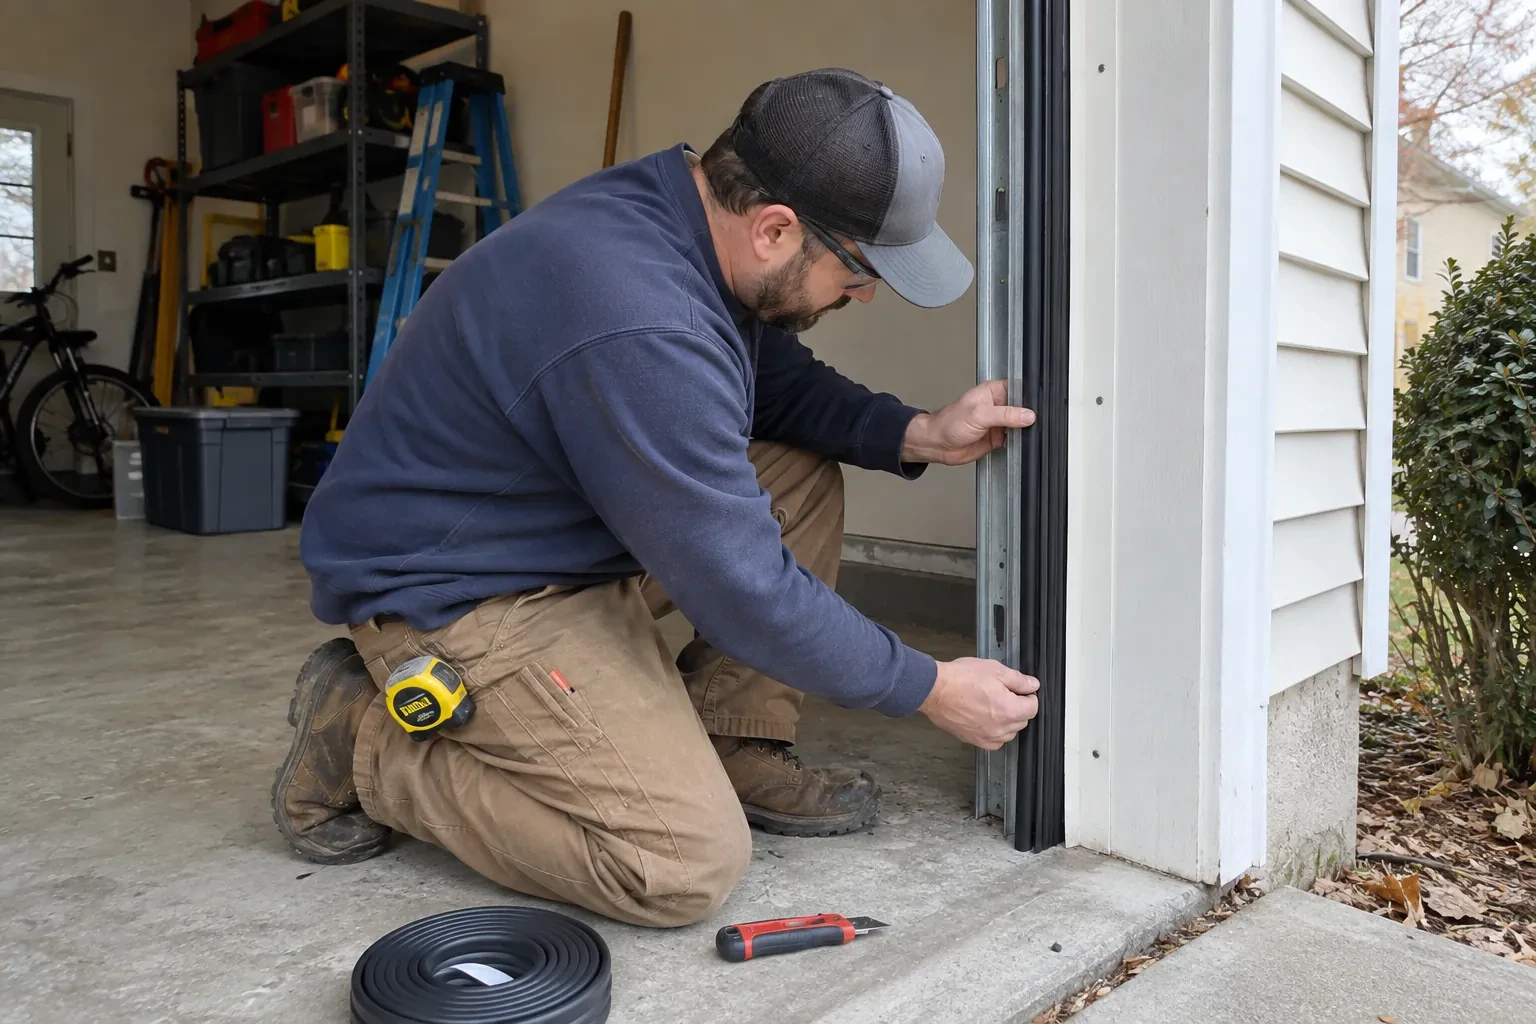
Two usual reasons. The travel limit is set a fraction too long, so the door reaches the slab, meets it harder than expected and interprets that as an obstruction. Or the bottom seal has stiffened or frozen and the last few centimetres take more force than the setting allows. Both are adjusted after the door is checked for balance, and the fix is confirmed by closing the door several times and running the contact reversal test.