Openers · Toronto
Photo-Eye Sensor Alignment or Replacement in Toronto
Since shelving went up along the garage wall, the door will not close and both sensor lights are dead.
In plain words
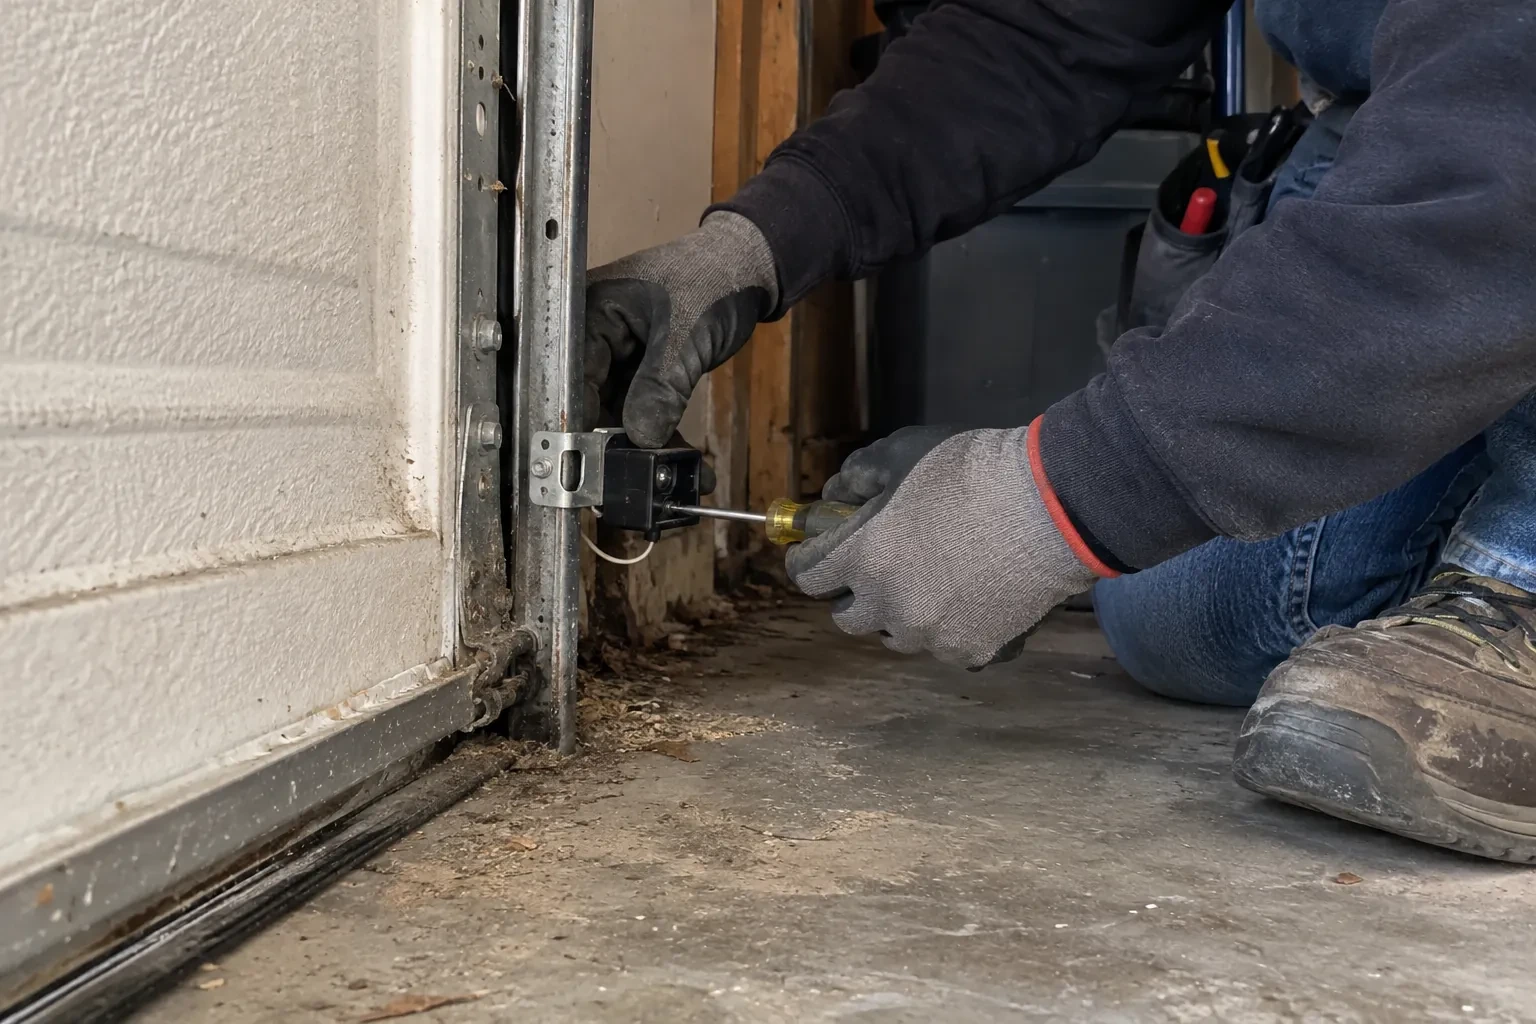
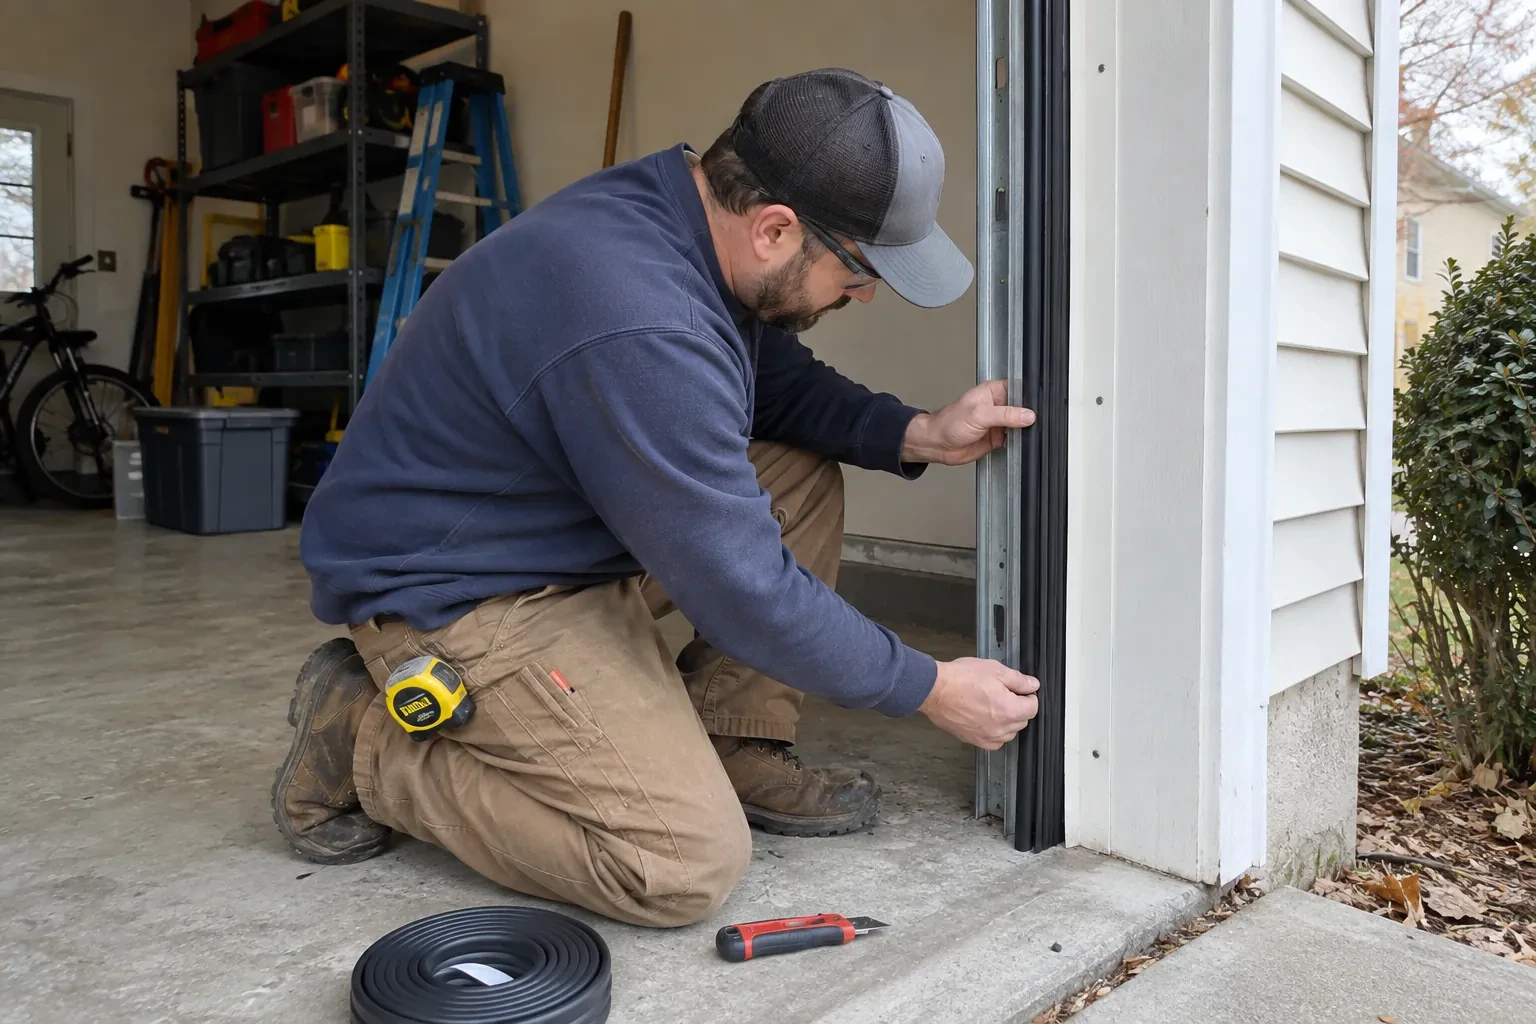
Photo-eye sensor service brings back the invisible beam that runs across the bottom of your doorway and lets the opener close with confidence. A technician clears the path, checks each sensor's indicator, tests the low-voltage wiring back to the head unit, and reads the opener's own diagnostic lights to tell an obstruction from a wiring fault. Brackets are straightened and refastened, lenses cleaned, and the pair aimed at each other at the same height no higher than 15 cm off the floor. If a sensor has failed, a matched pair for that opener family goes in. The visit ends with a beam test and a contact reversal test.
How the visit goesThe small light on one of the sensors near the floor has gone dark, or it flickers when someone walks past the track. The other one glows steadily. The door refuses to close from the car.
Photo-Eye Sensor Alignment or Replacement
How the visit goes
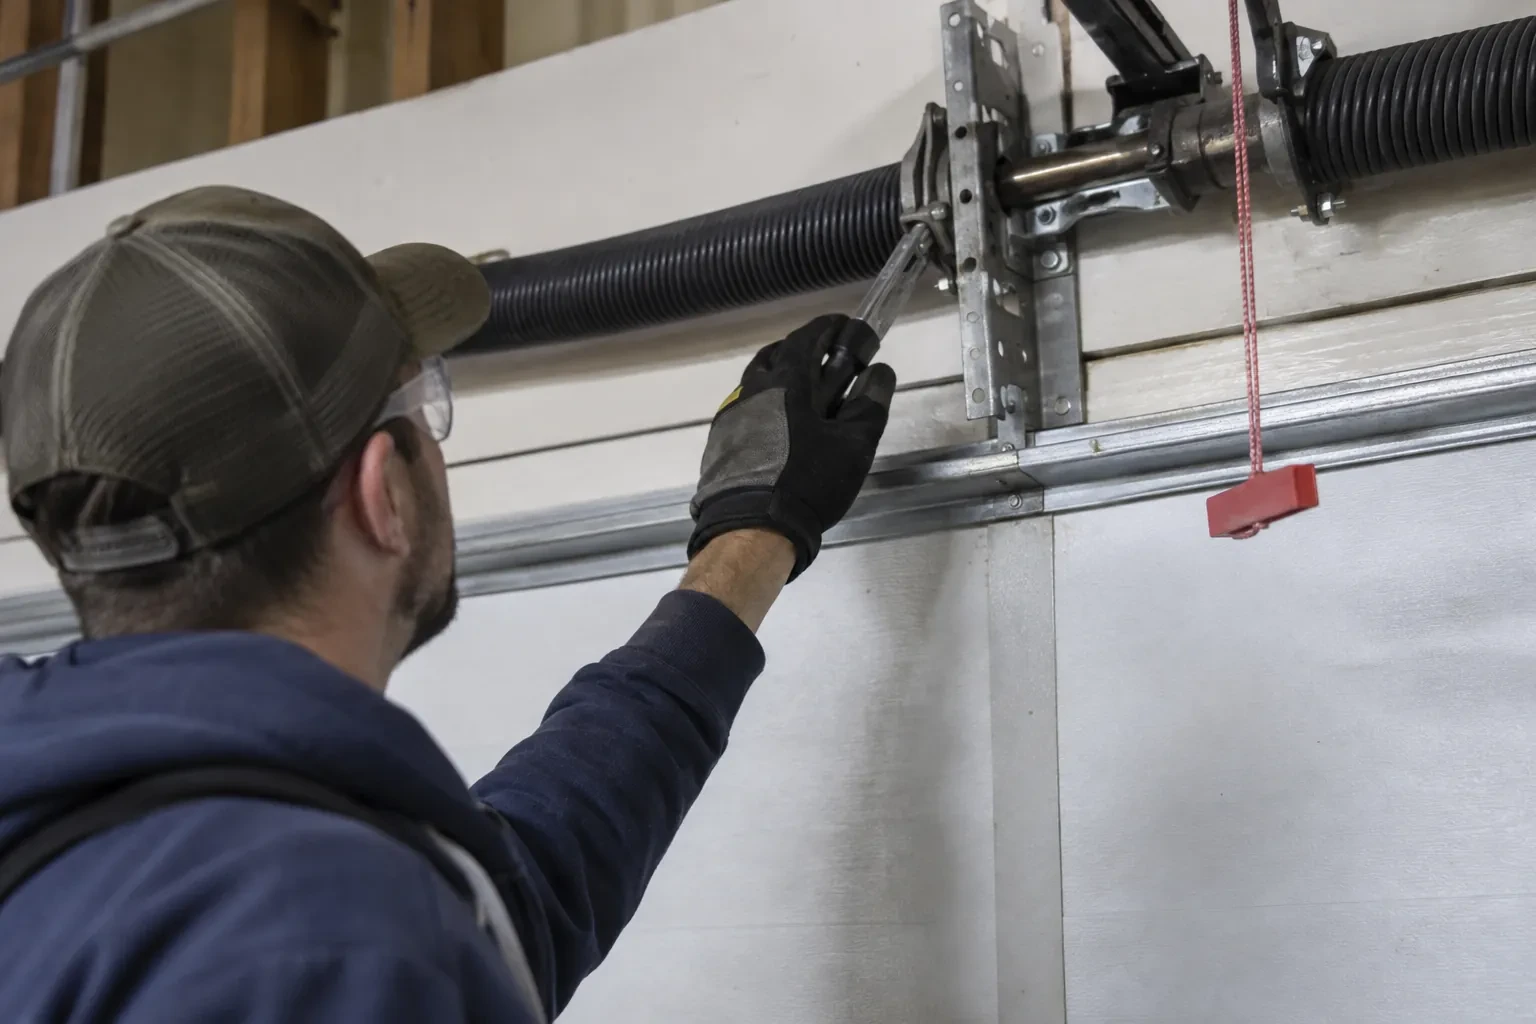
Reading the two small lights
Most sensor pairs carry an indicator on each side, though some older models light only the receiver, so the technician checks that model's own chart first. On most openers the sending eye shows one colour and the receiving eye another, and both should glow without a flicker. If the sending light is steady and the receiving light is dark or blinking, the beam is not landing where it should: misalignment, an obstruction or a dirty lens. If both are dark, the pair has no power, pointing up the wire to a cut, a loose terminal or reversed connections. The technician also nudges each bracket gently while watching the light; a flicker on touch means a loose mount.
Dealing with the sun
A receiver that looks into the low sun is fixed by geometry. The simplest cure is to swap the two sensors side to side so the receiver looks away from the doorway light and the sending eye, which is not affected, takes the sunny position. Where the layout rules that out, a small hood or shade is fitted over the receiving lens, deep enough to shield it without narrowing the beam path. The wiring is extended or re-routed as needed and both lights are checked at the time of day the fault used to appear, or with a strong light aimed at the lens to stand in for the sun.
A record of the work
You have a short written note of what was done: the opener make and model, what the diagnostic code and the sensor lights showed on arrival, whether the fault was alignment, wiring, sun or a worn sensor, what was replaced and where the new parts sit. It records the height the sensors were set at and that both tests were passed with you watching. That note is useful for a home inspection, for the next technician, and for you, because it shows what normal looks like on this door so a future change is easy to describe over the phone.
Photo-Eye Sensor Alignment or Replacement
In the van
Wall or floor angle brackets
Insulated wire staples
Wing nuts and carriage bolts
Protective wire channel
Receiving-eye sun shade
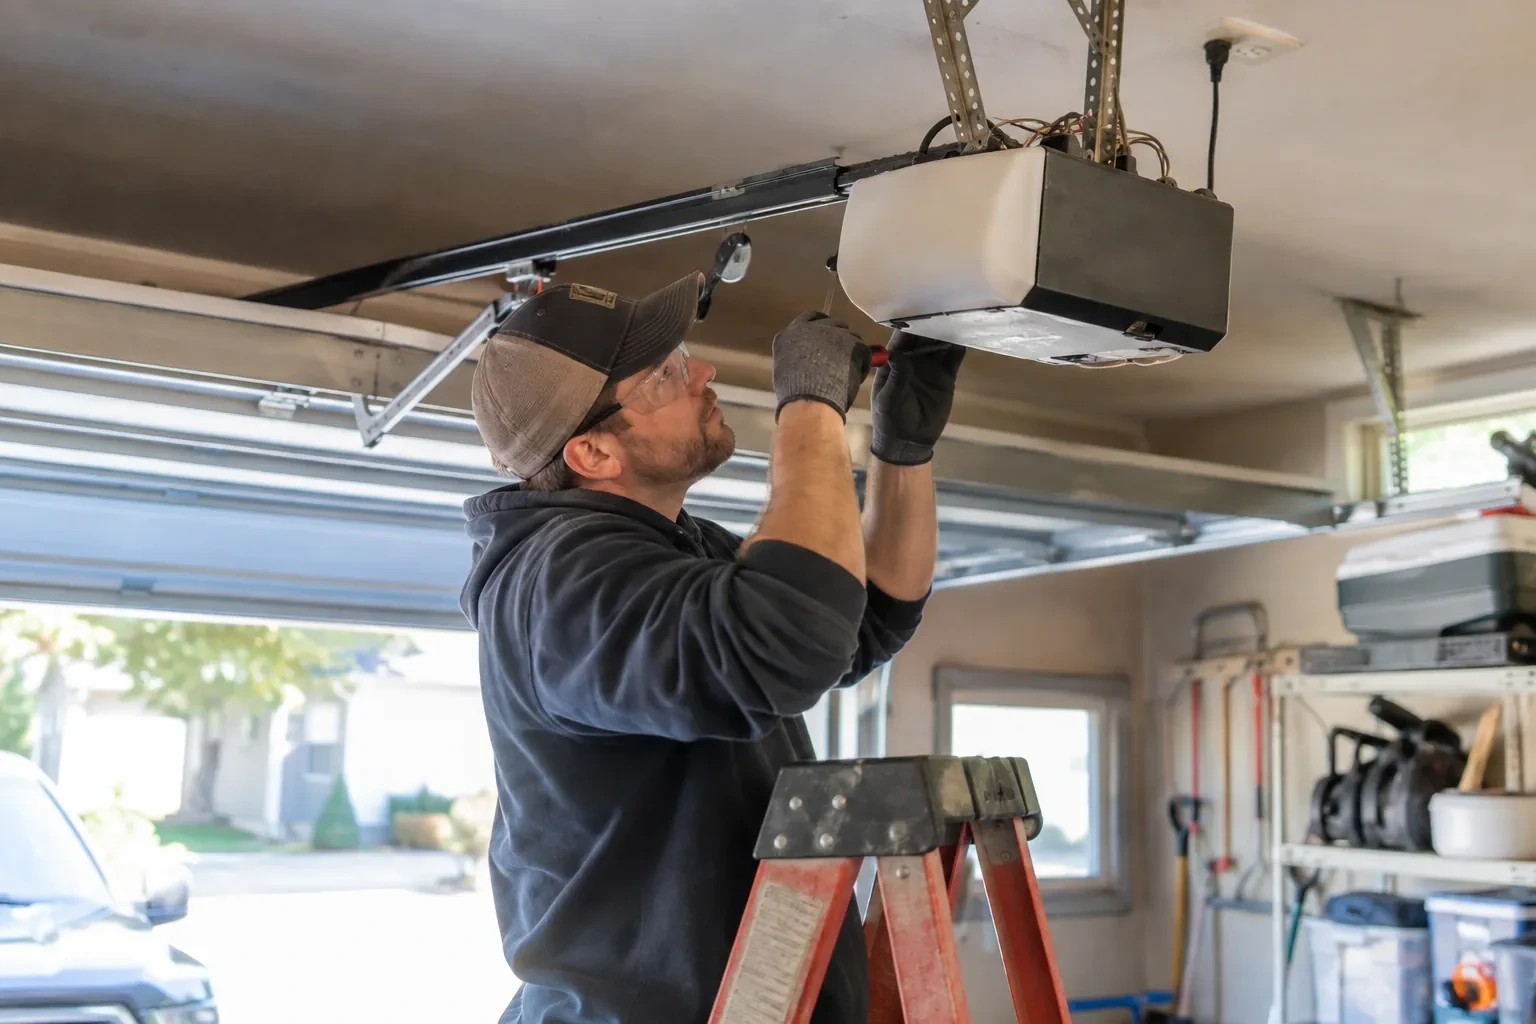
Photo-Eye Sensor Alignment or Replacement
What affects the quote
Type of kit
Some replacement kits contain only the two sensors with connectors, while others include brackets and a full length of wire. The kit that suits the opener and the state of the existing hardware is what is quoted.
Force and travel adjustment alongside
If the reversing turns out to involve a travel limit set long or a force setting made in summer, adjusting and re-testing those settings is included as a small extra step.
Number of doors
Each opener has its own sensor pair and wire run, so a double garage with two doors is two sets of checks, two possible pairs and two rounds of testing, quoted per door.
What to have ready
- What make and model is on the opener's label, and roughly how old is it?
- Which direction does the garage door face?
- What do the two small sensor lights show: both steady, one dark or flickering, or both dark?
Photo-Eye Sensor Alignment or Replacement: questions
QuestionsIs it all right to keep using the door until the visit?
Use the door in a way that keeps you in control. If the opener closes only while the wall button is held, do that only while you can see the whole doorway and nobody is near it. Otherwise close the door first if you can, then move it by hand with the manual release, and get help if it feels heavy or binds. Keep children and pets clear during any test. A door that reverses is being cautious on your behalf.
How should I clean the lenses?
Gently, with a soft dry or lightly damp cloth, the way you would clean eyeglasses. Never scrape a lens or use a solvent, since a scratched or clouded lens scatters the beam. Wipe both sensors, then check that the receiving light comes on steadily. If a lens frosts on cold mornings, give it a few minutes to clear or dry it with a cloth. A quarterly wipe keeps dust, cobwebs and salt film from building up.
What can I check myself before calling?
Three things, all safe. Look along the floor between the sensors for anything in the path, including snow, leaves or a cobweb across a lens. Look at the two sensor lights and note whether one is dark or flickering, or both are dark. Press close and count the flashes of the opener light. If moving an object or wiping a lens brings the receiving light back on steadily, the door may close normally again; if not, those observations make the visit shorter.