Repairs · Toronto
Garage Door Safety Inspection
Your toddler has discovered the wall button.
In plain words
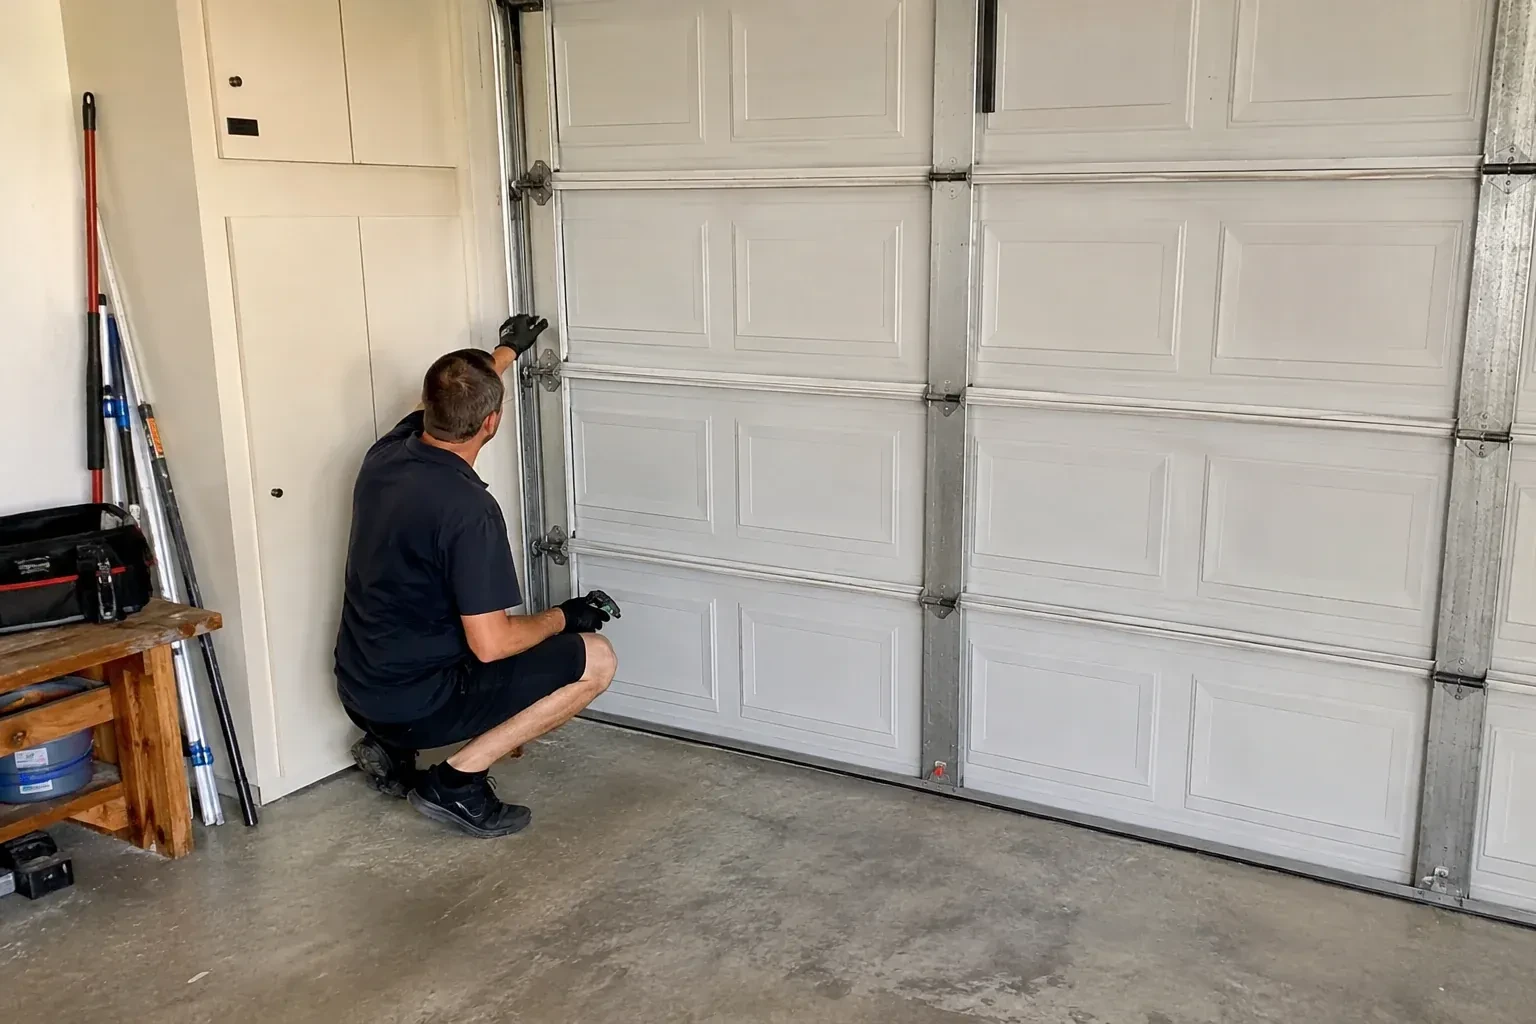
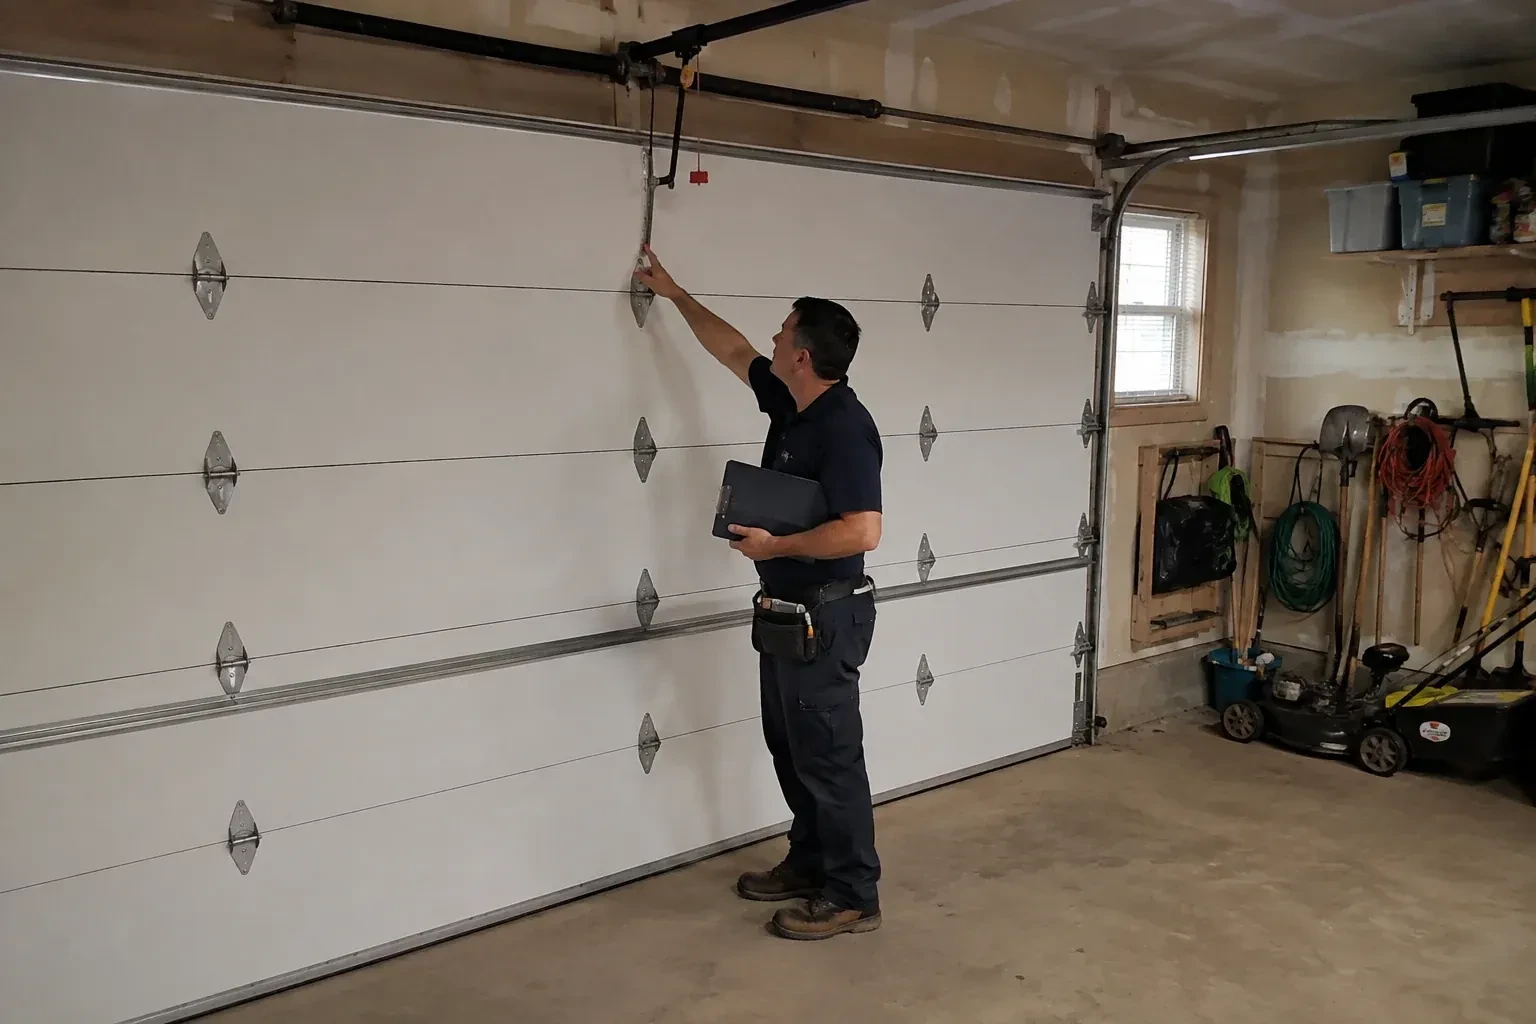
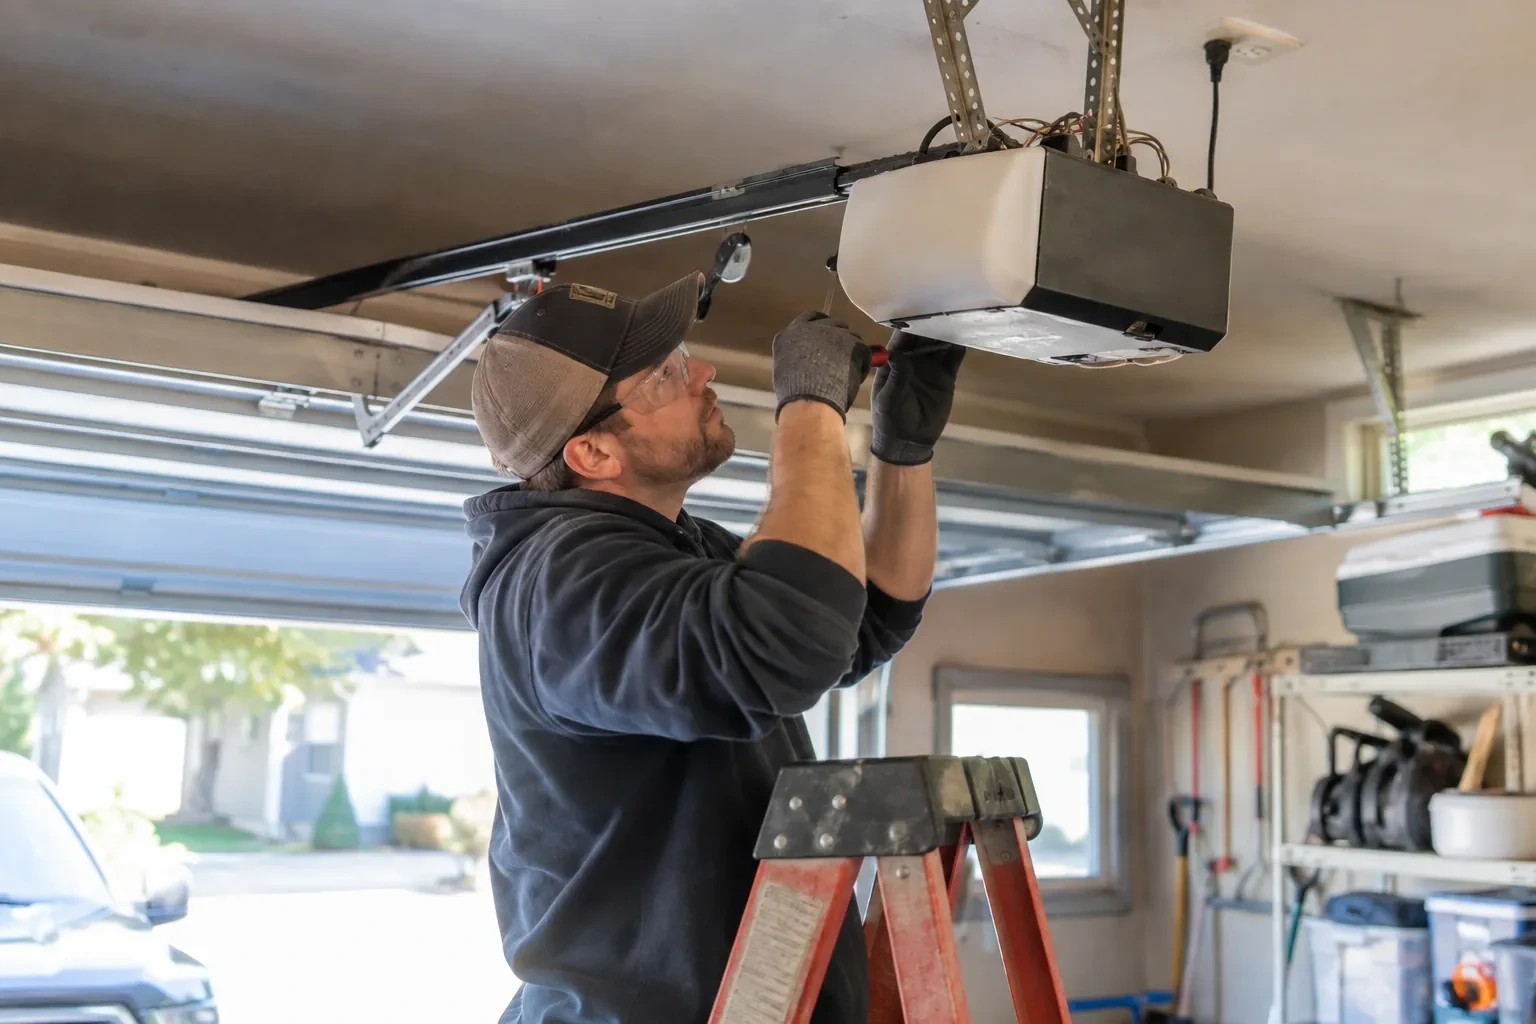
Three tests sit at the heart of the visit. The balance test, done with the opener disconnected, shows whether the springs are still carrying the door's weight or the motor is straining to do it. The contact-reversal test, a flat board laid on the floor, shows whether the door backs off when it meets something solid. The photo-eye test, breaking the beam while the door closes, shows whether the sensors stop it before contact. Each one takes a minute, each answers a different question, and together they tell you the door is doing what it was built to do.
How the visit goesIt has been a hard winter. The bottom seal froze to the slab twice, the opener groaned each morning, and one afternoon you noticed a cable on the left side hanging with a little slack in it.
Garage Door Safety Inspection
How the visit goes
Springs, cables and drums, looked at and left alone
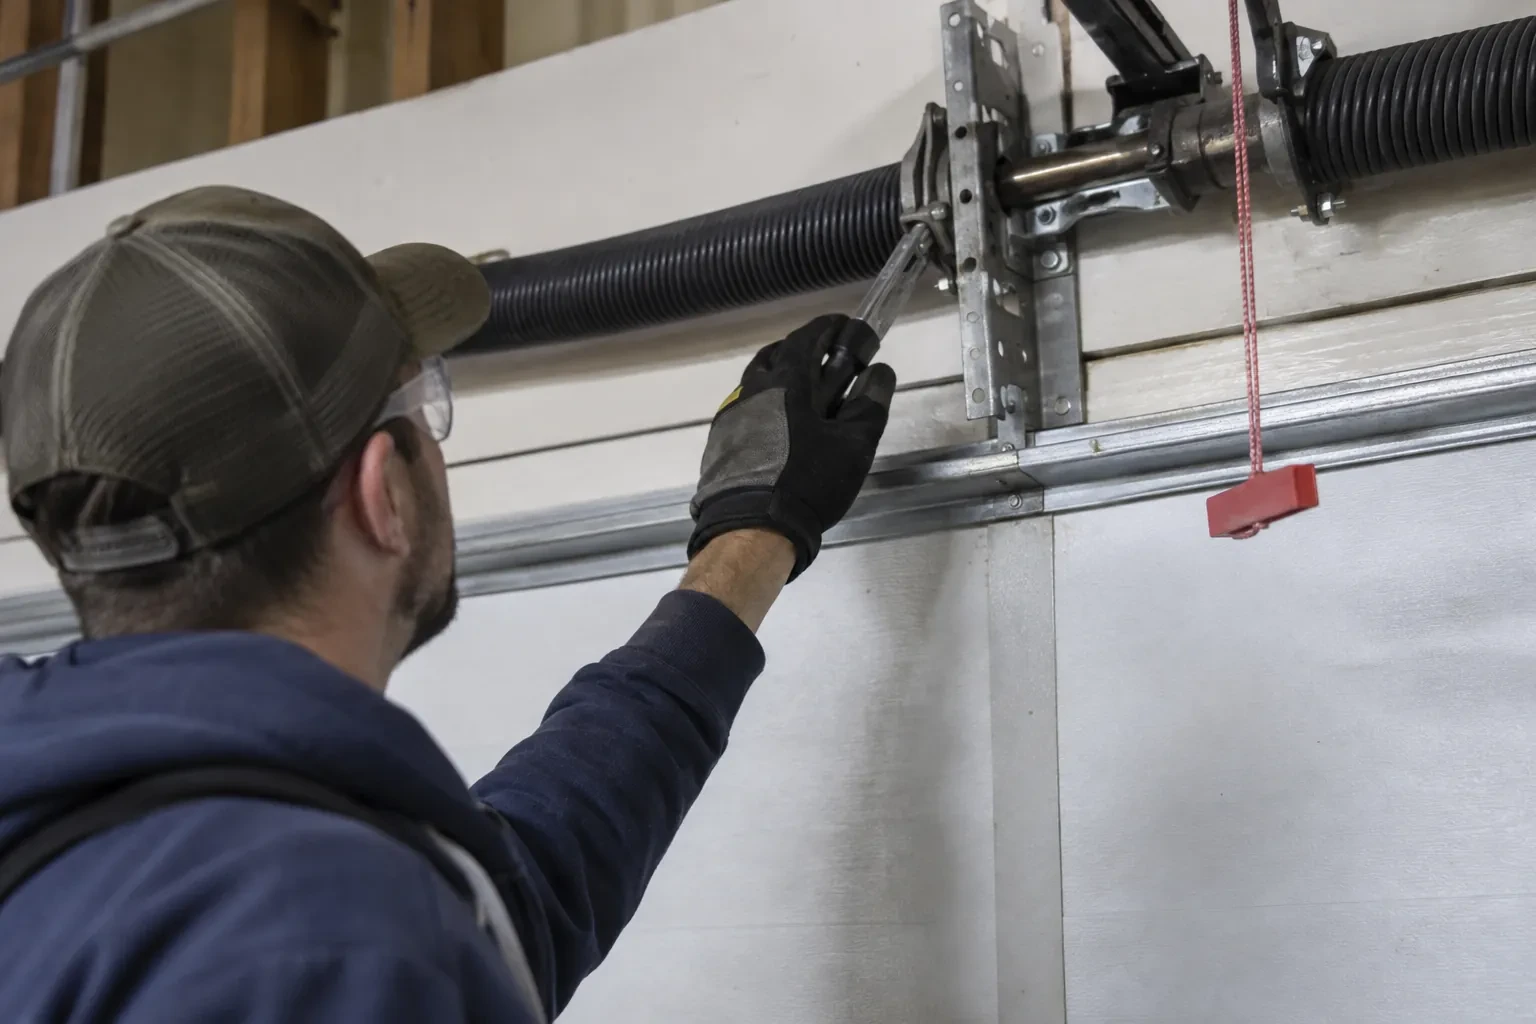
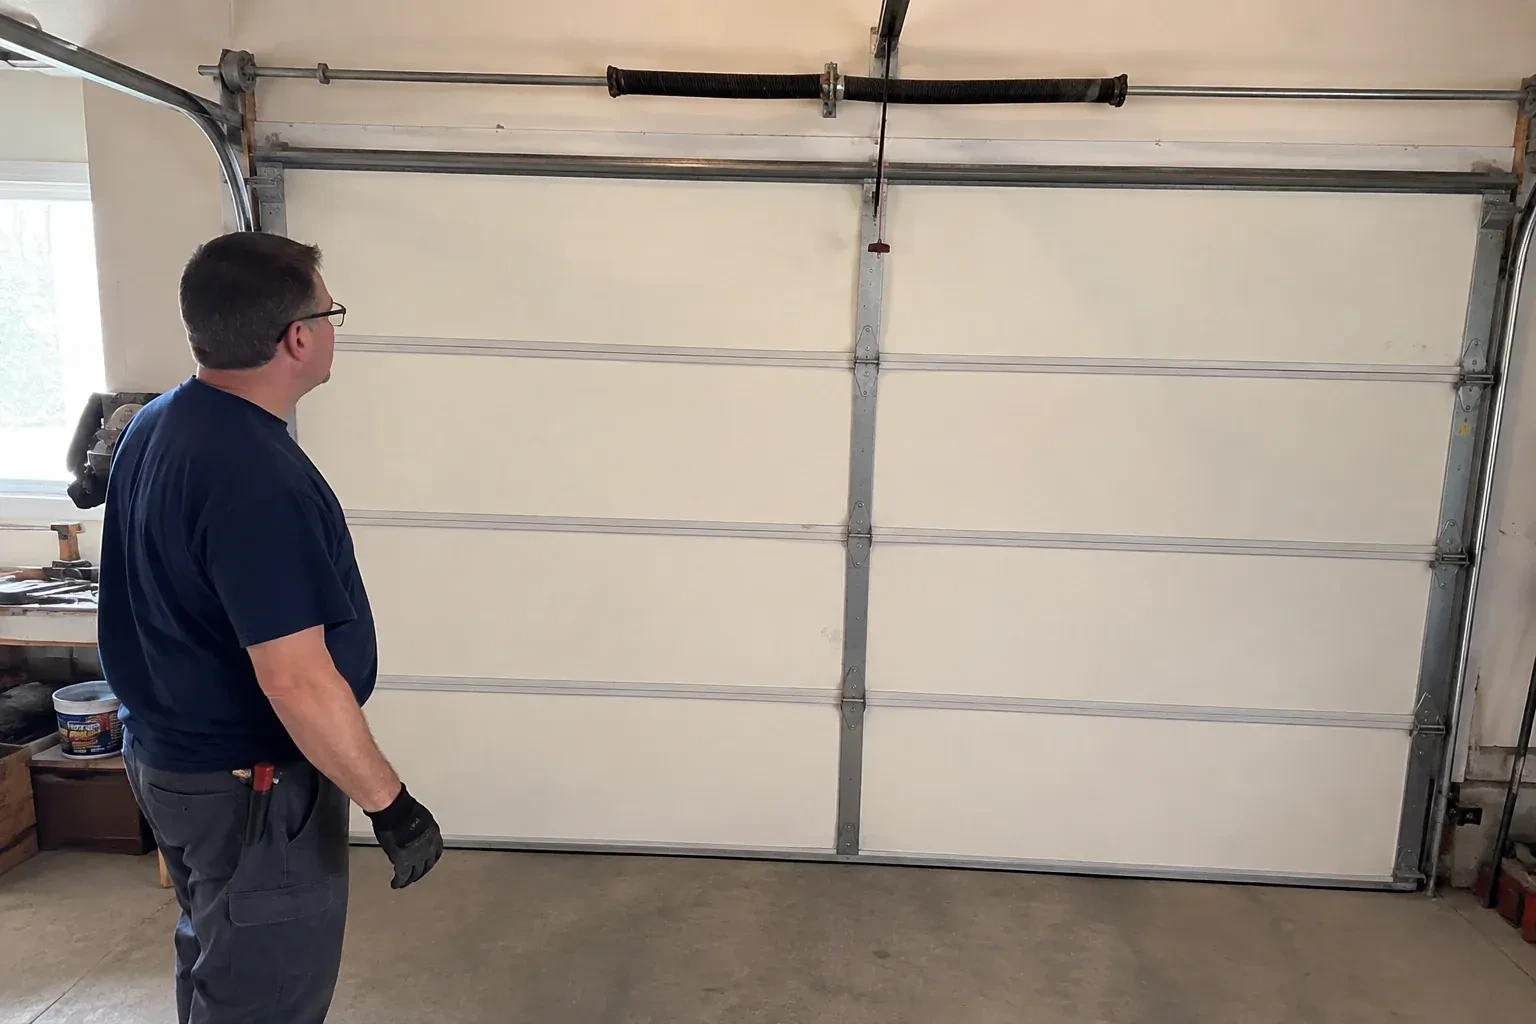
The counterbalance gets a careful look and nothing more during the inspection. On a torsion door the technician checks the spring coil for a gap, rust or a stretched section, confirms the cone set screws and centre bearing look sound, and follows each cable from the drum to the bottom bracket looking for broken wires, a rust bloom near the loop or a slack side. The drum wrap is checked for a single neat layer. On an extension door the springs, pulleys and containment cables are examined the same way. Any adjustment to these parts is a separate, planned job matched to that system, torsion tension controlled with winding bars rather than simply released; the inspection records their condition.
Sorting the findings at the door
Before packing up, the technician walks you through what was found, in front of the door so each item can be pointed at. Findings are sorted into four groups: in good order, maintenance, planned repair, and stop-use. For each repair, you hear what the part does, why it matters and roughly what the work involves, so you can decide in your own time. If anything falls into the stop-use group, you are shown the reason and the door is left in a safe position with the opener disconnected until that item is corrected. The written record follows, with the model numbers, the measurements and the photographs.
Carrying the door through winter
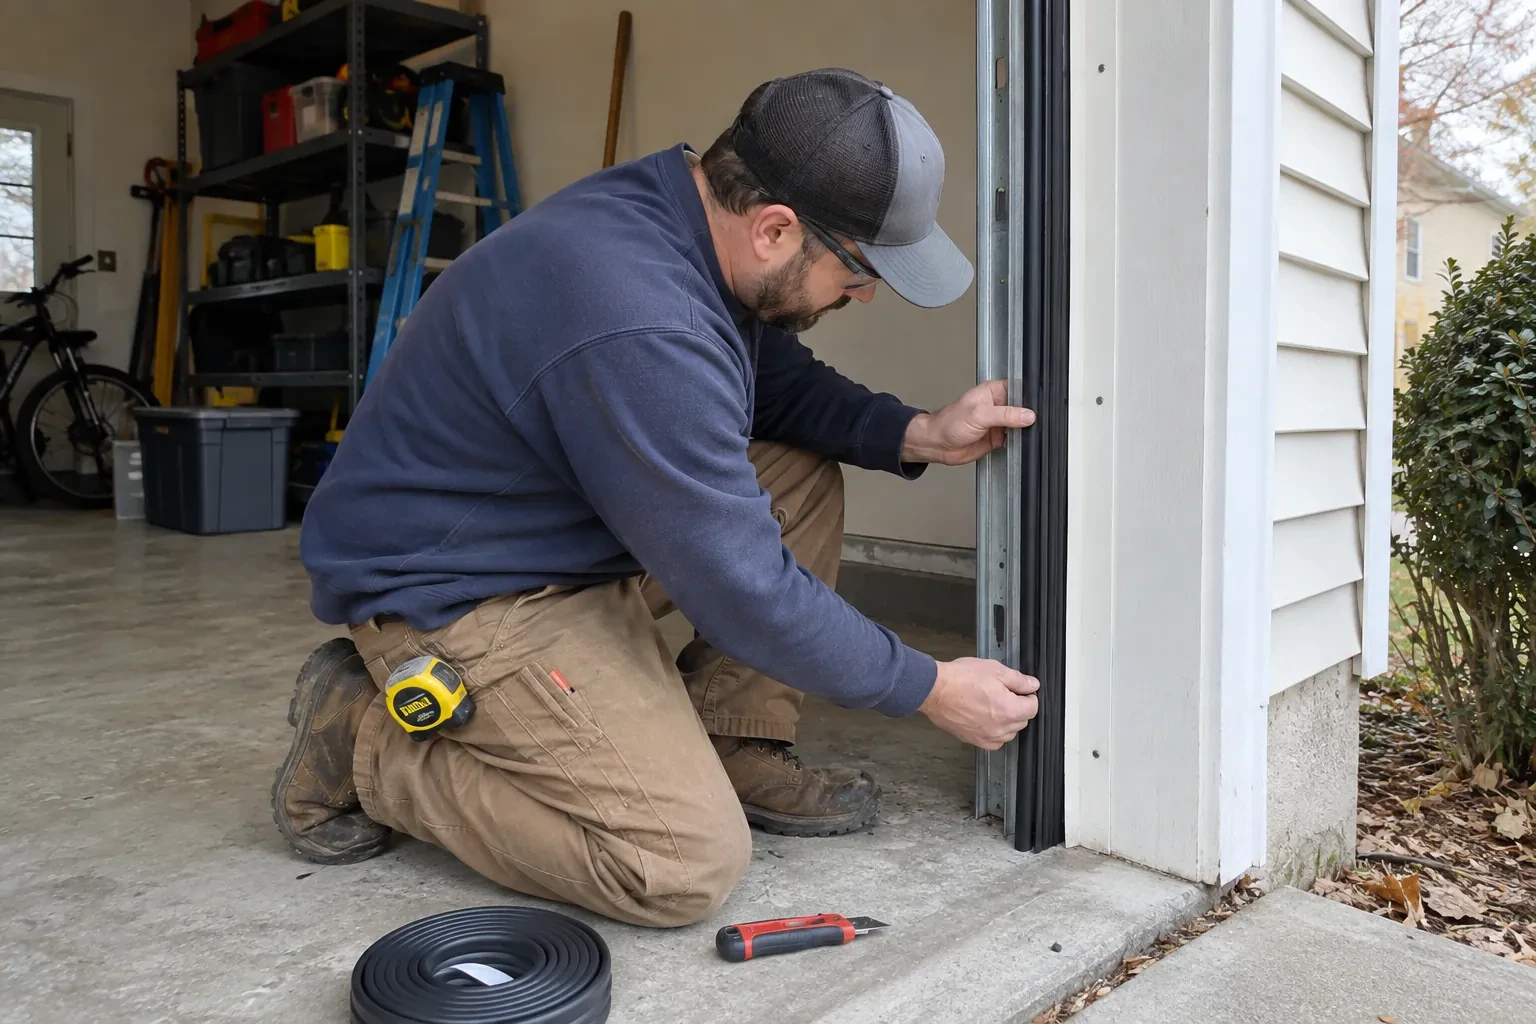
The technician leaves you with the handful of habits that matter in a cold climate. Keep the threshold clear of packed snow so the door closes on the floor and not on a ridge of ice. On a mild day, wipe the salt off the bottom brackets, the lowest hinges and the bottom stretch of each cable, then give them a light mist of lubricant. Wipe the photo-eye lenses when the grime of a slushy week builds up. If the bottom seal freezes to the slab, free it by hand before running the opener rather than asking the motor to tear it loose. These take minutes across a season and spare the cables, the seal and the opener.
Garage Door Safety Inspection
In the van
Tape measure and level
Flat 2x4 test board
Silicone garage-door lubricant
Inspection checklist and report form
Camera for findings
Garage Door Safety Inspection
What affects the quote
Manuals and unusual models
A door or opener with no label, a discontinued model or a custom lift setup means the test procedure has to be established rather than looked up, which adds time.
Opener type and age
A current opener with photo eyes, a keypad and several remotes has more devices to test than an older unit with contact reversal alone, and the test procedures differ by model.
Maintenance done during the visit
Lubrication, photo-eye cleaning and alignment, fastener tightening and fresh batteries can be added on the spot. Each is a small line on the quote, chosen by you at the door.
What to have ready
- When was the door last serviced, and do you have the paperwork?
- What make is the opener, and does it have sensors near the floor on each side?
- Have you tried lifting the door by hand, and how did it feel?
Garage Door Safety Inspection: questions
QuestionsWhy does my door reverse on the way down for no reason?
Most often it is the photo eyes. A sensor knocked slightly out of line, a lens with a film of road grime, a loose wire, or low afternoon sun shining straight into one eye will each break the beam as far as the opener is concerned. The next candidates are a down-force setting that has drifted, a binding roller or a door that has gone out of balance. The inspection checks each in turn.
How should I prepare for the appointment?
Move the car out if you can and clear a metre or so in front of the door and along both tracks so the technician can reach the hinges and brackets. Find the door and opener manuals and any earlier repair paperwork. Have every remote and the keypad code to hand. If something has changed lately, be ready to say when and what you noticed first. If the door looks wrong, leave it where it is.
How often should a garage door be inspected?
Once a year suits most households, and early spring, after the salt and freeze-thaw season, is a natural time. A door that opens many times a day, an older door, or one on a rental where nobody watches it closely does well with a look each season. Between visits, the monthly balance, reversal and photo-eye checks that industry guidance recommends catch most changes early.
Related services
- Off-Track Garage Door ResetYou tapped the door with the bumper while backing in, barely a nudge, and now the bottom corner has swung inward.
- Garage Door Panel ReplacementFrom outside, the horizontal groove between two sections now steps sideways by a centimetre.
- Garage Door Bottom Seal ReplacementThe gap under the door is a finger wide at one end and nothing at the other.